
How Canopy can help your onboarding process
Canopy has two options for adding new hires into your HR database: Self Service On Boarding and Add New Hire. While both accomplish the same goal, the process is slightly different for each. Both can be found under the Administration tab.

Add New Hire
This option is the more traditional of the two, in which the HR admin inputs a new hire’s information into Canopy.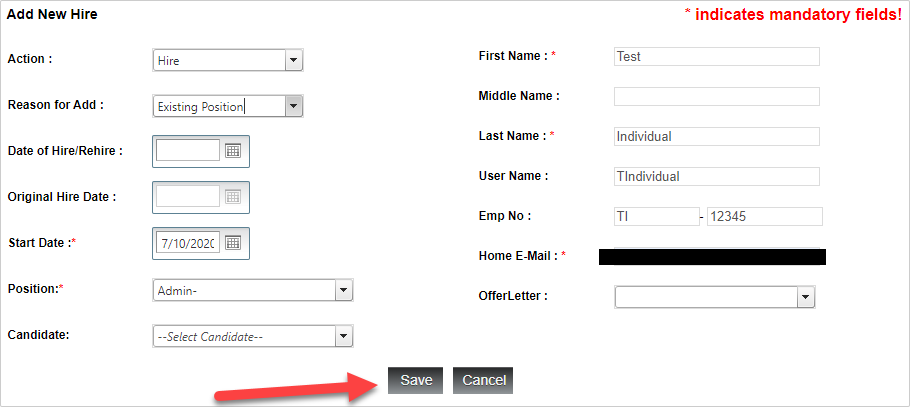
This option is also useful for rehires!
Self Service Onboarding
With this option, you send a new hire an email with login credentials to Canopy, and they fill out the onboarding information themselves!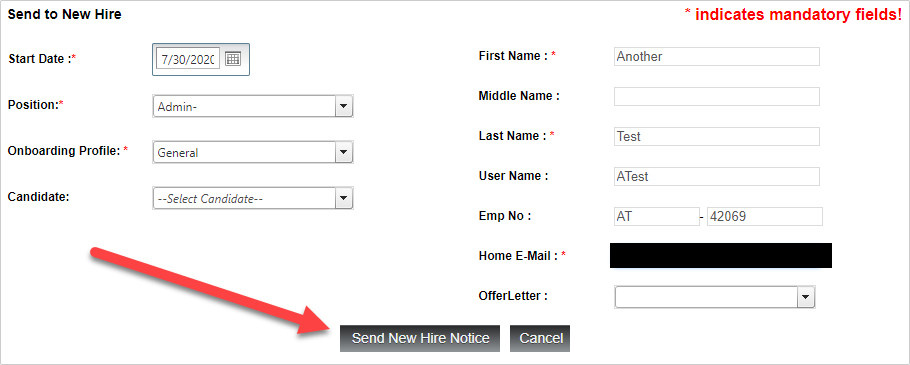
Great for if you are trying to go self-service!
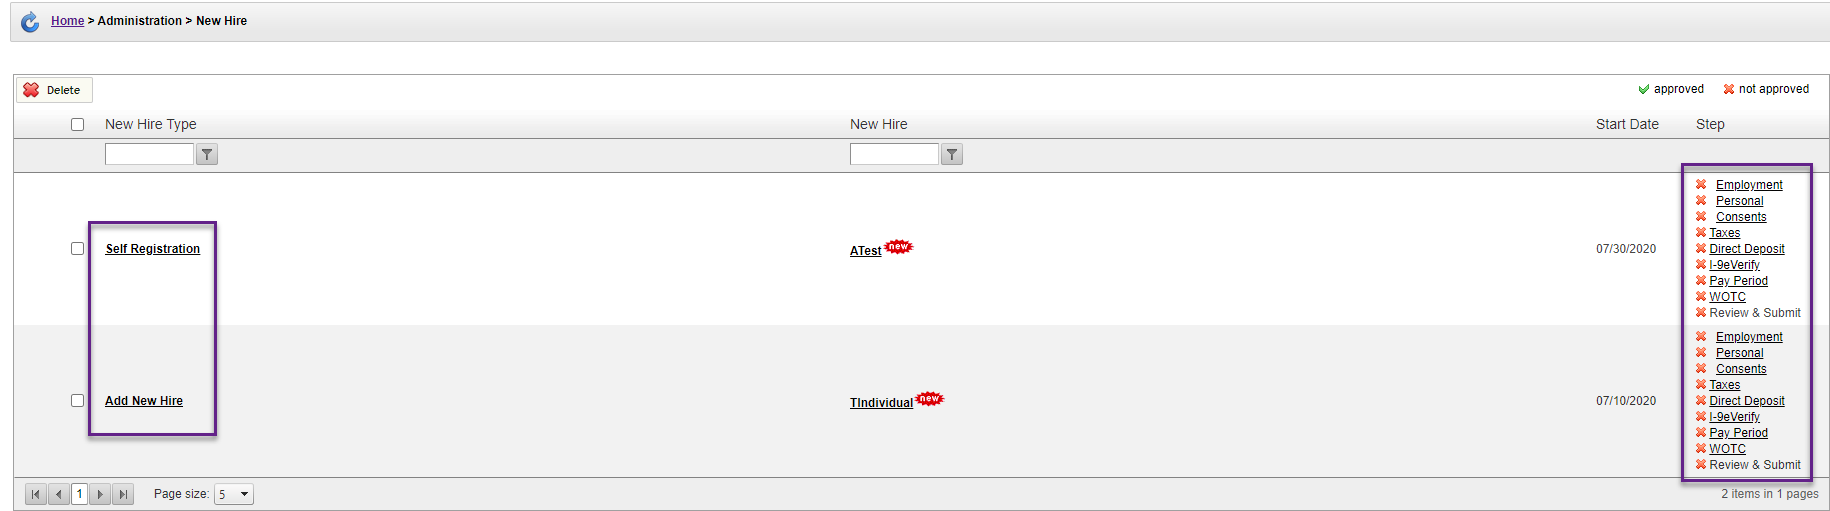
No matter which option you choose, the employee will have to complete the same number of forms. You can track their onboarding progress from the New Hire page. As forms are completed, those red Xs will turn into green checks! Aren’t visual indicators of progress fun?
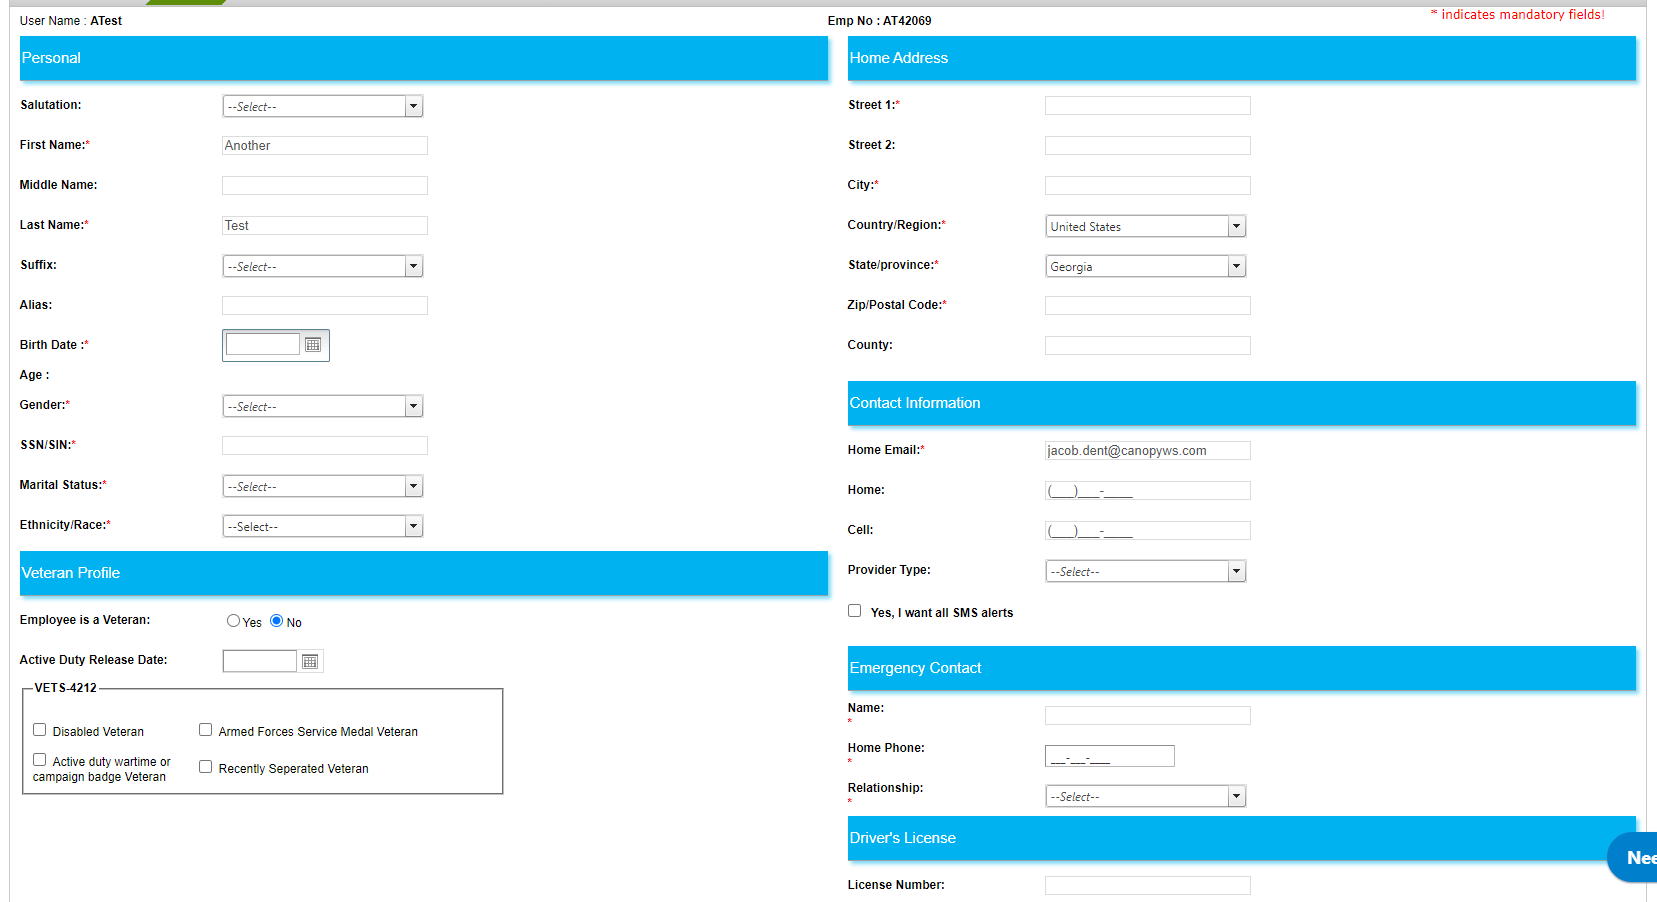
Tab Overview
These screens show the tabs necessarry for filling out onbaording forms. To enable or disable these, check out this article.
-
Personal: Names, addresses, contact information, drivers license data, and veteran status.
-
Consent Forms: For including documents you want the new hire to sign, like non-disclosure agreements, internet usage policies, etc.

-
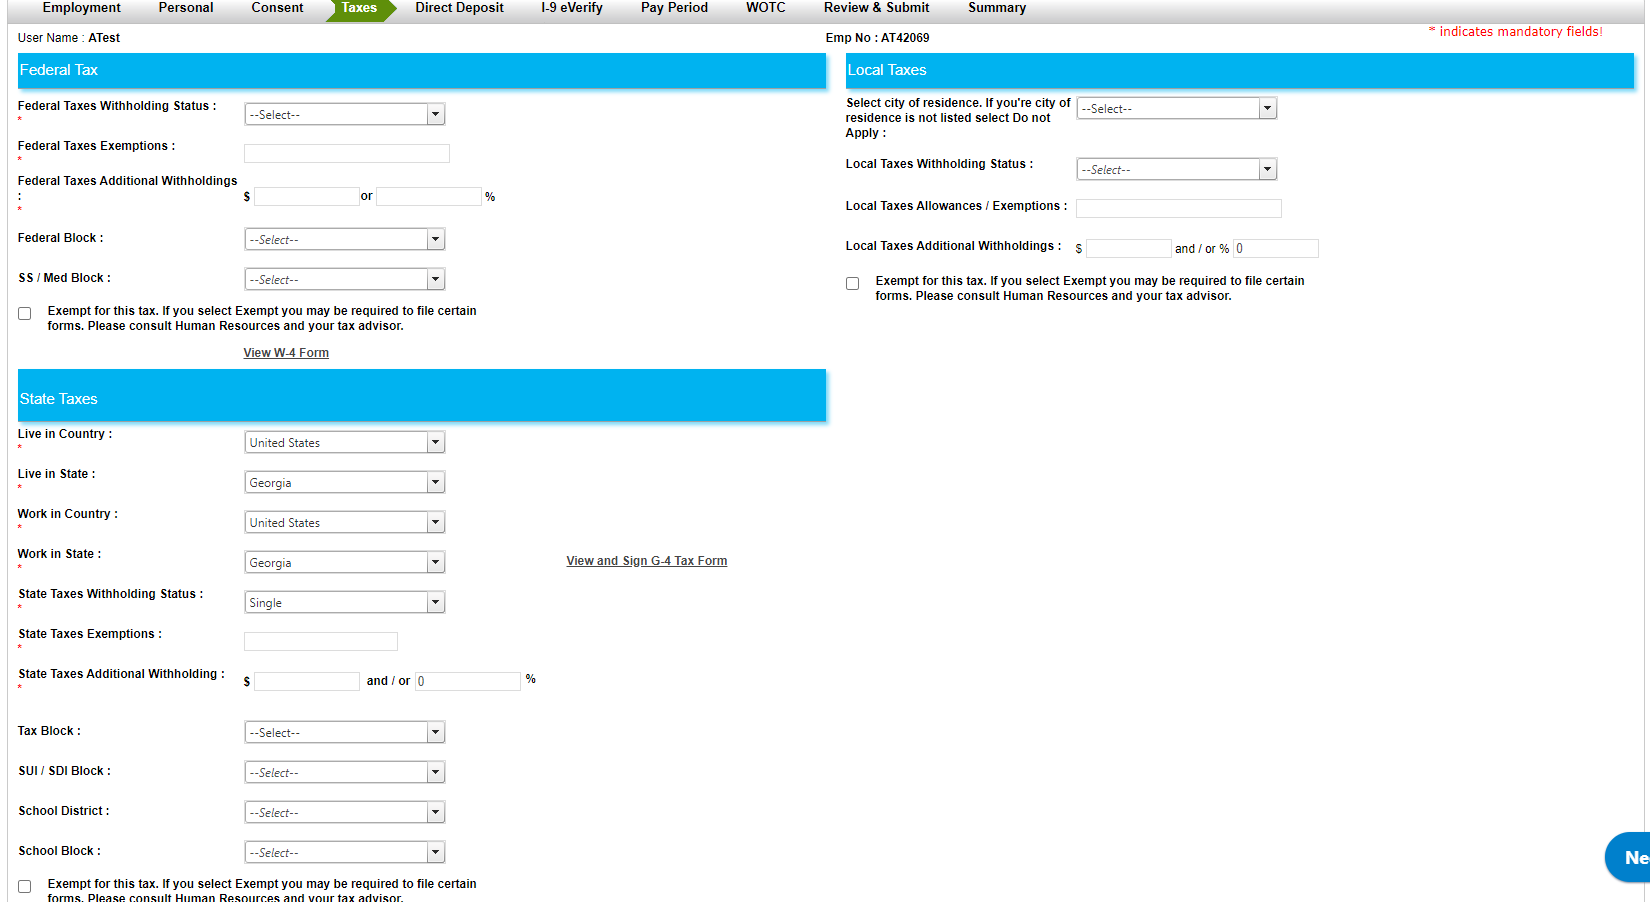
Taxes: Federal, state, and local tax information.
-
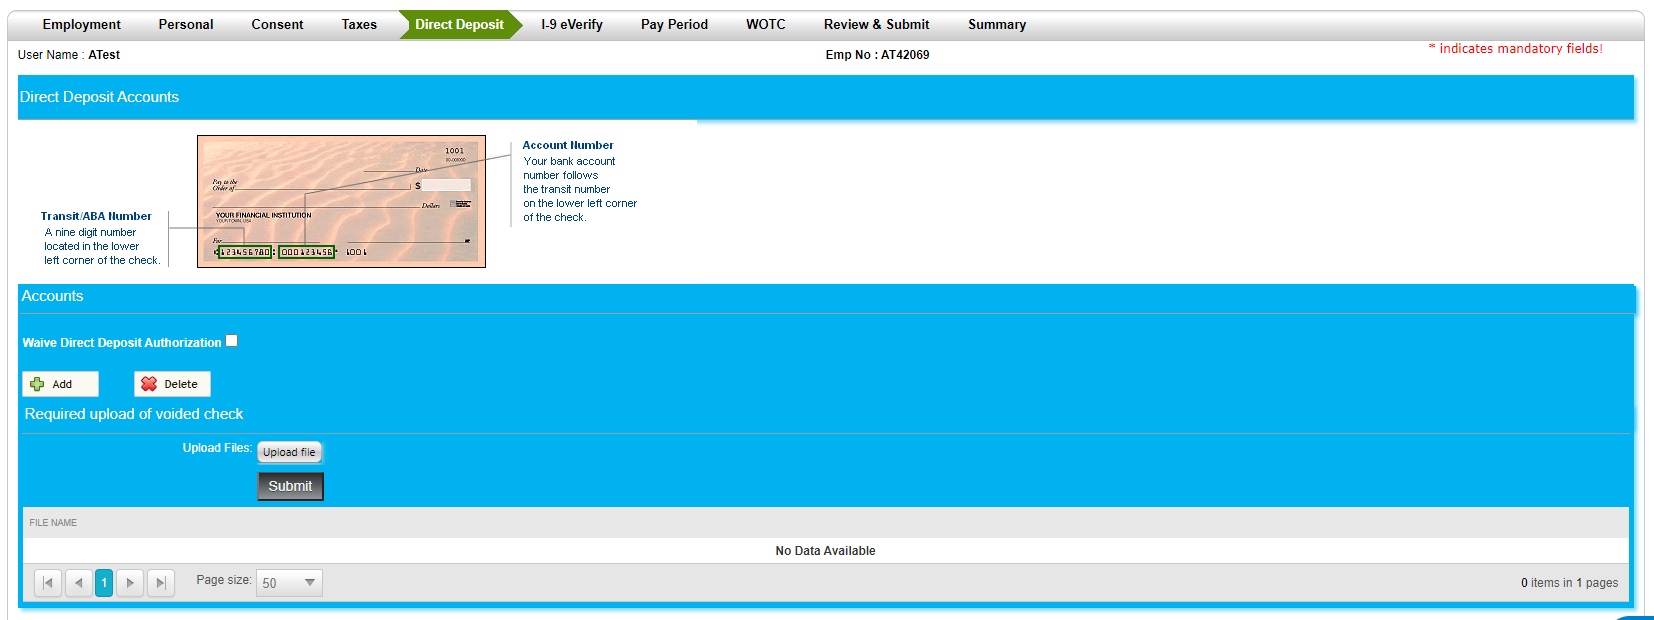
Direct Deposit: Where a bank account can be attached. Canopy allows two accounts to be connected to direct deposit.
-
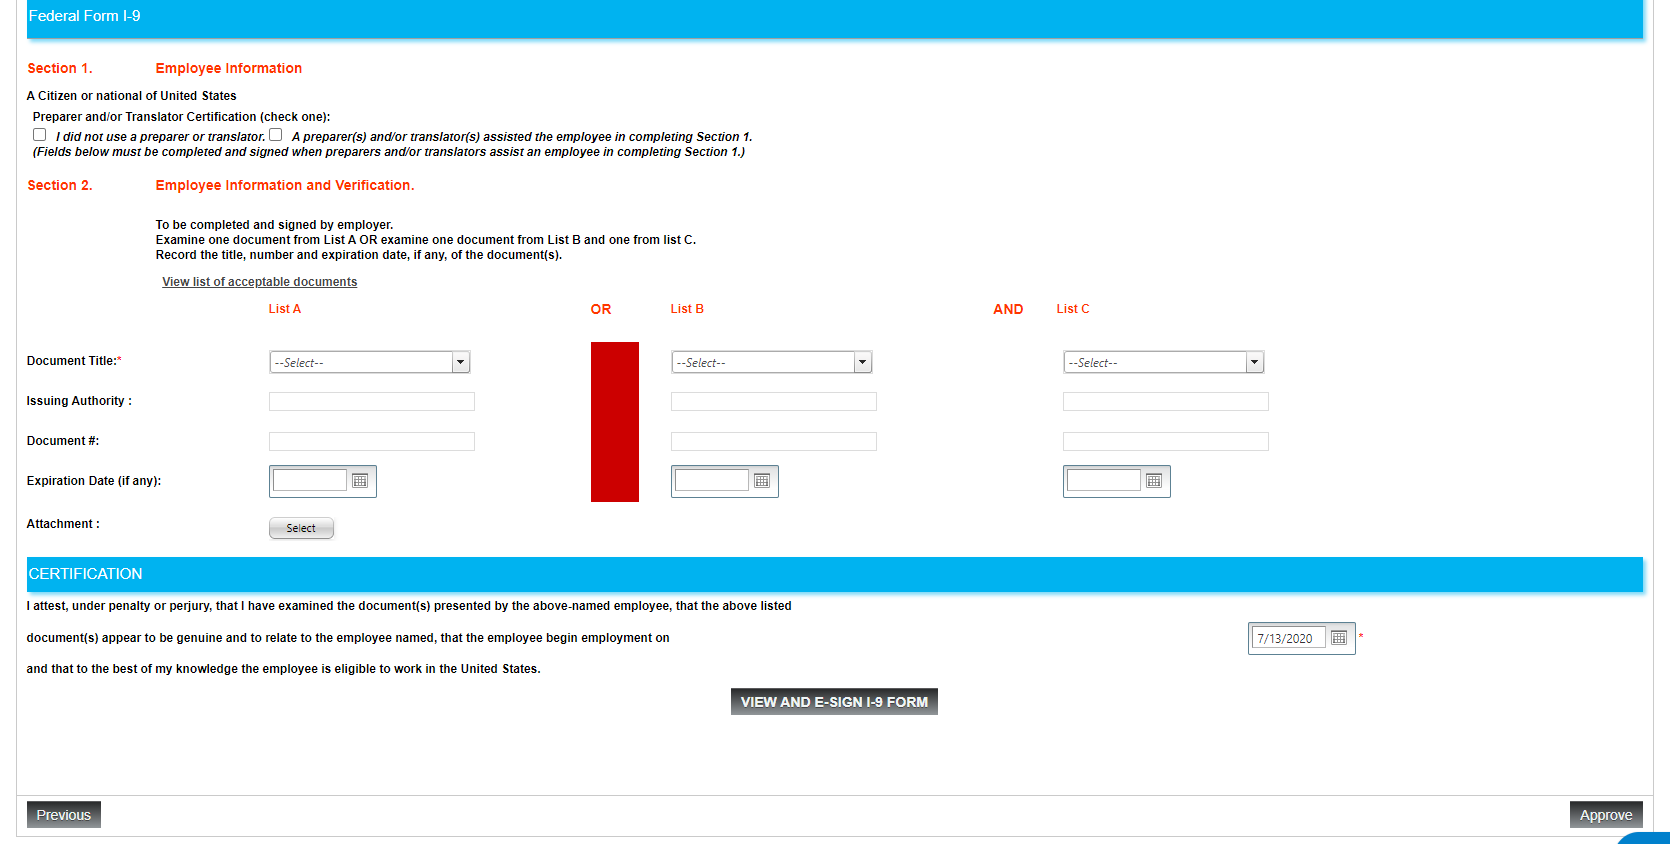
I-9 Documents: For inputting information regarding an employees' citizenship or visa status.
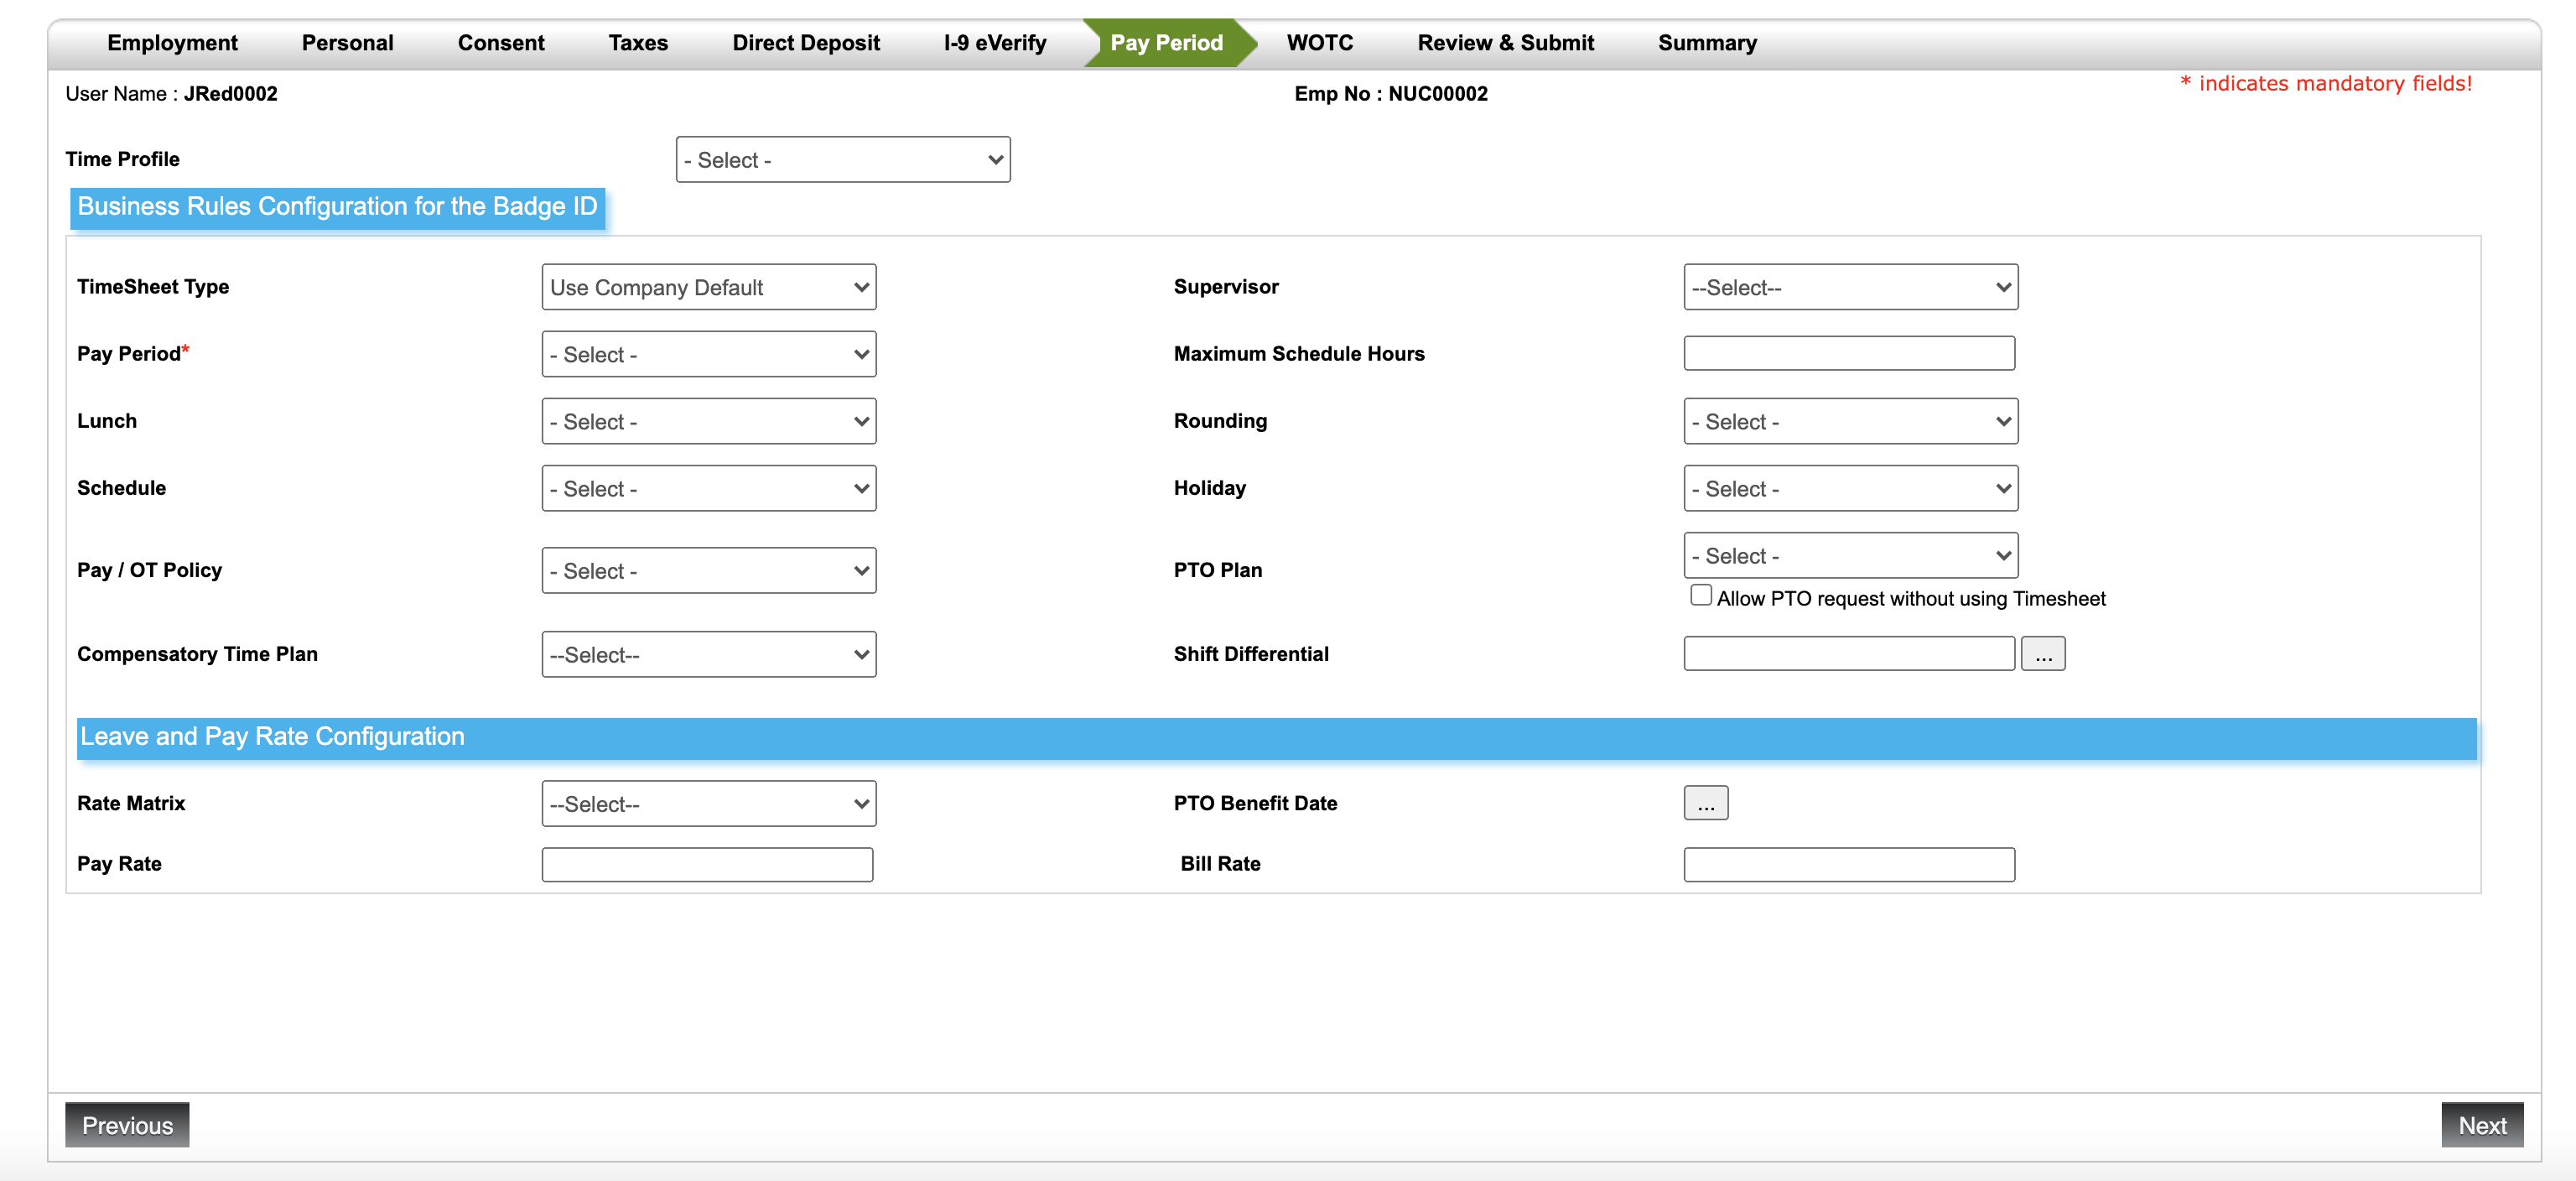
- Pay Period: For setting up pay periods and time profiles
-
WOTC: Worker Opportunity Tax Credit. See Worker Opportunity Tax Credit (WOTC) for more information on Canopy and WOTC.
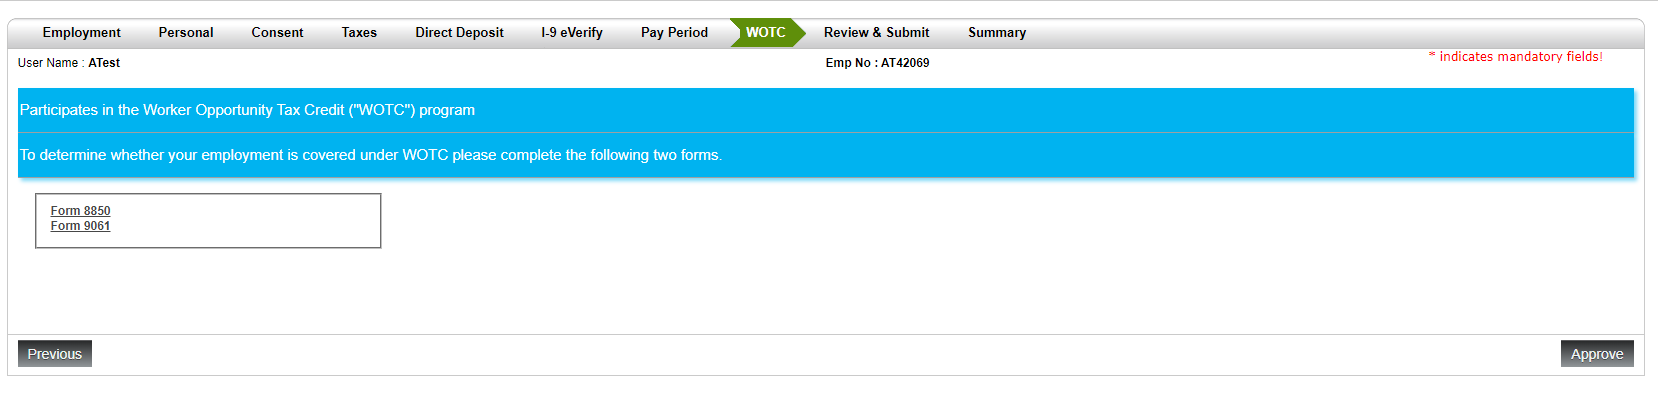
Once you have finished these fields, you will either Approve (if administrator) or Submit (if filling out via self-service on boarding). Then the employee will be added to your Canopy roster!