How to make a custom report
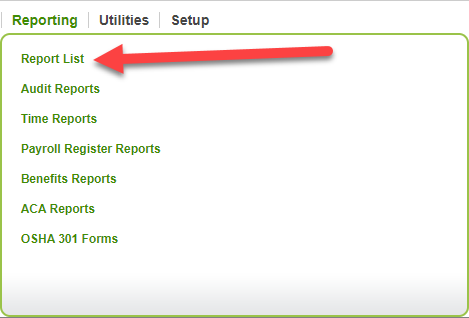
CanopyWS has a large number of pre-created reports. But you also have the ability to make as many reports as you like, and report on as many fields as you like! A list of all reports can be accessed via the Reporting tab and Report List button.
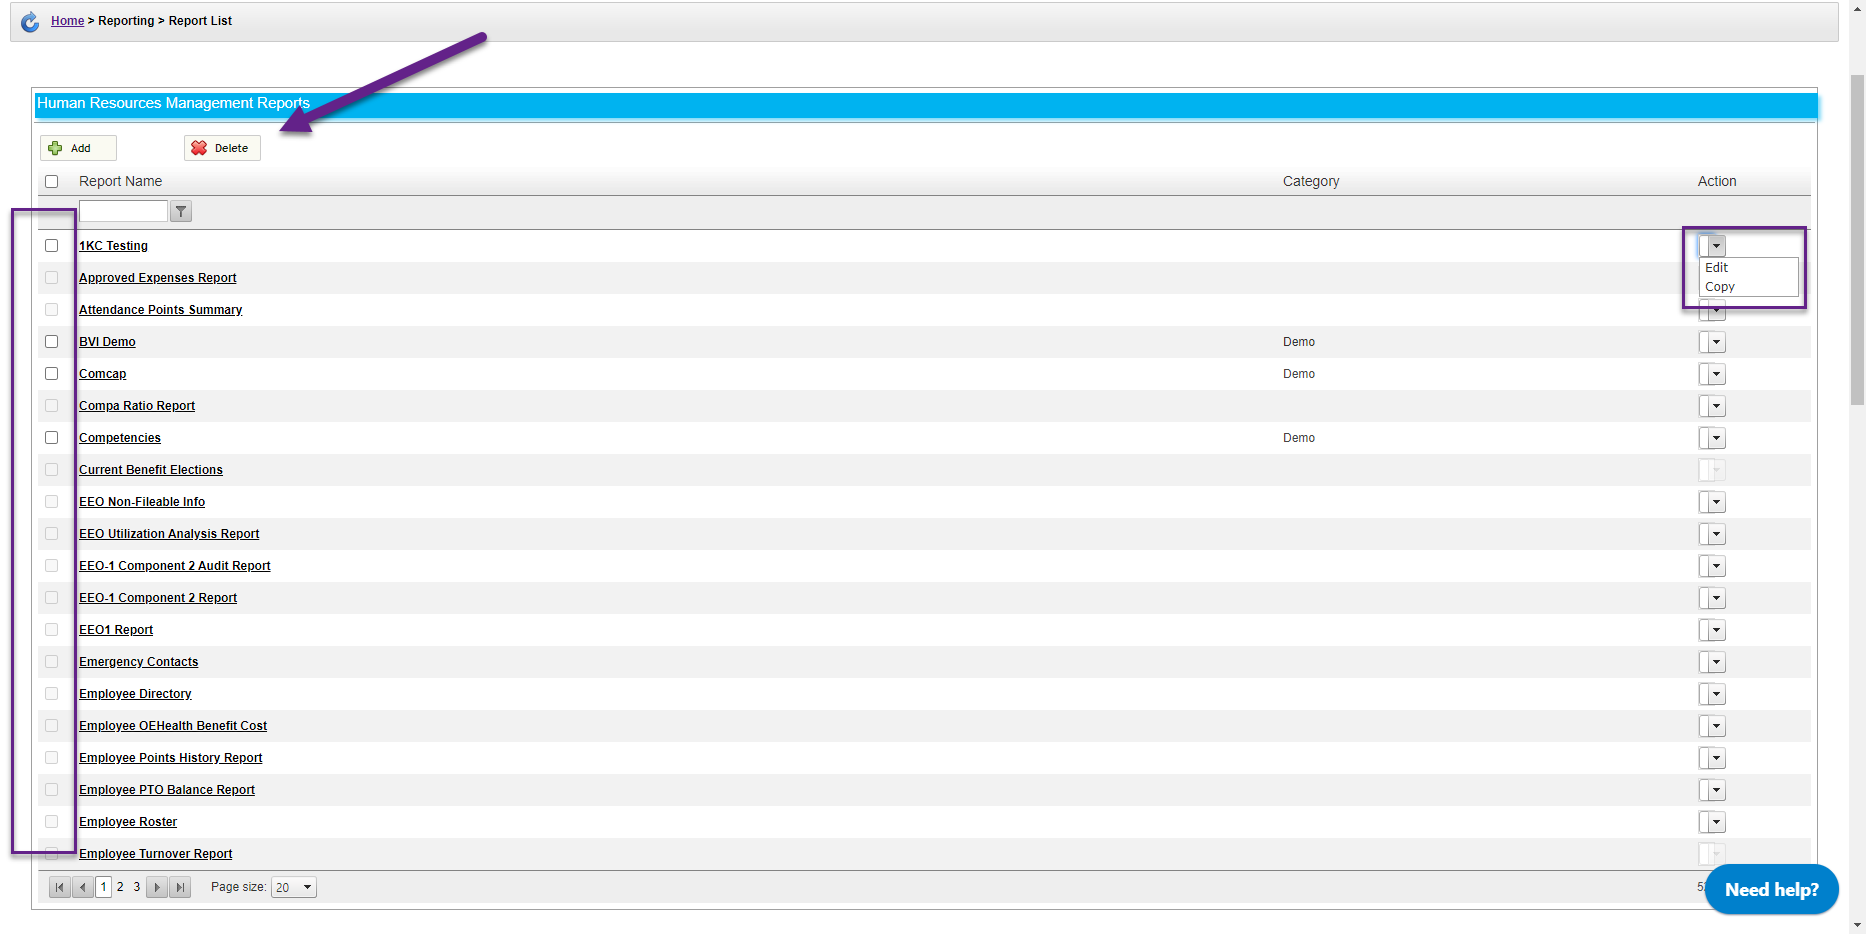
This table displays all ad-hoc reports in Canopy. Each report has a check box that can be used to Delete the report and a drop-down menu that lets you Edit and Copy the report.
Let’s make a new one.
Instructions
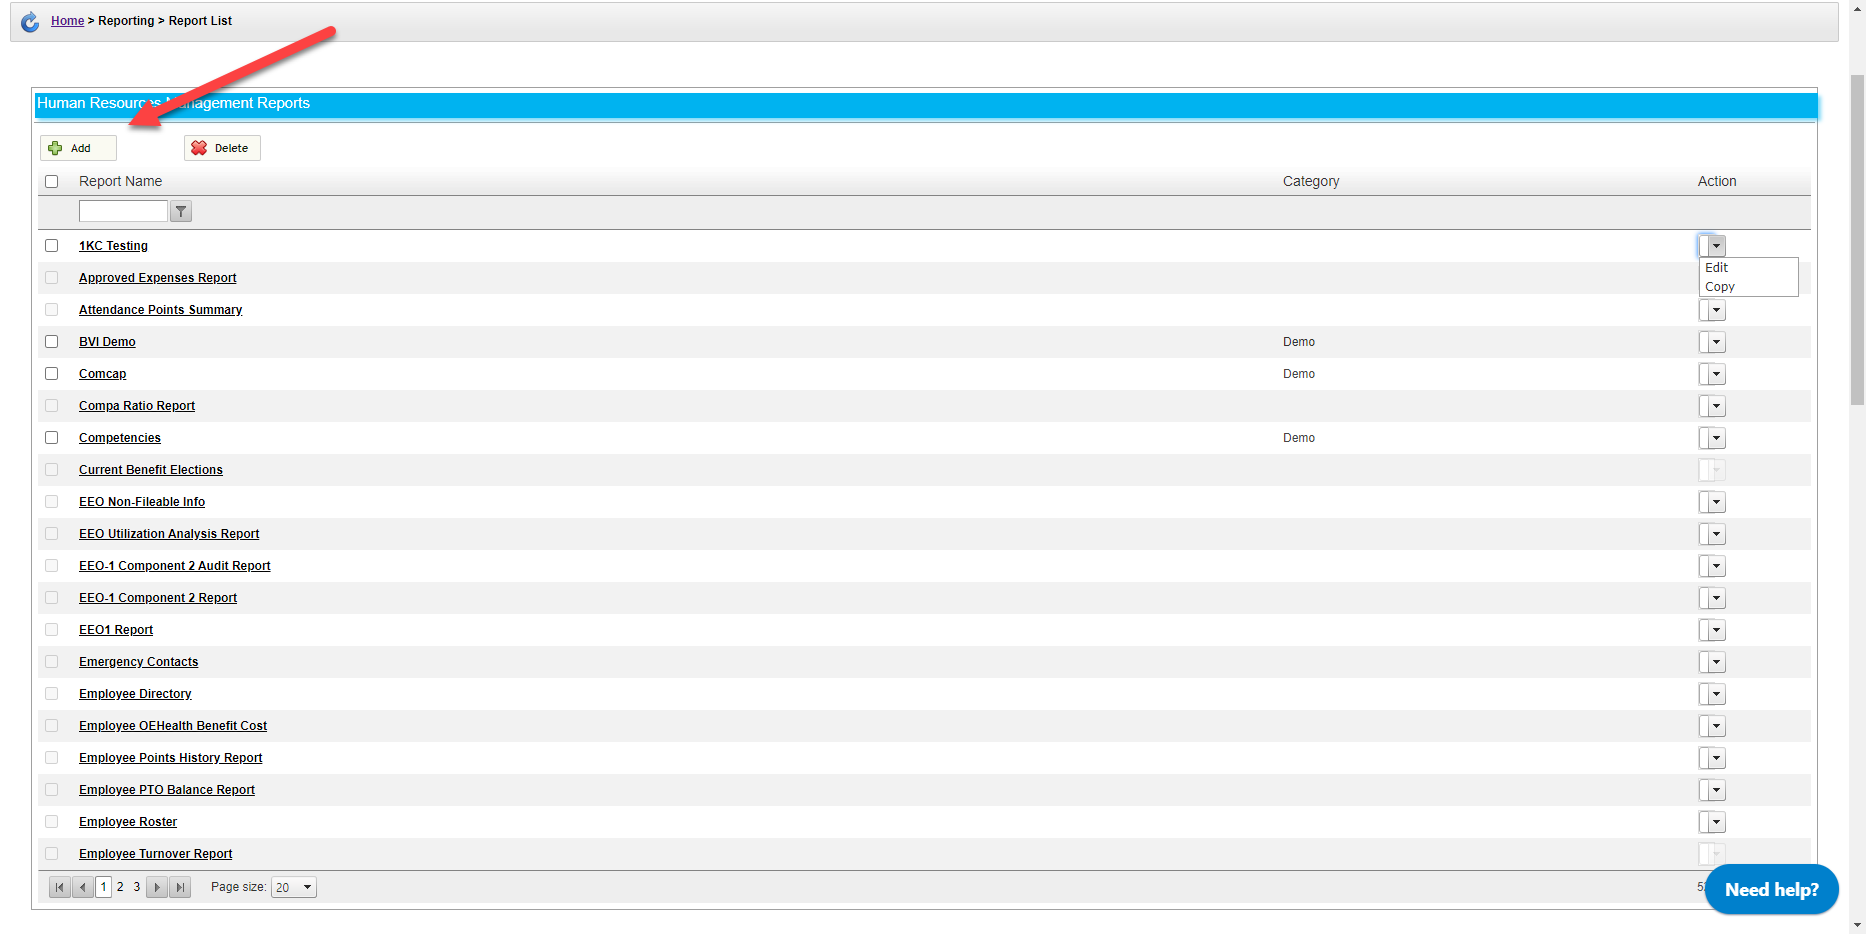
From the Report List:
-
Click Add.
-
Add a title and Forms to your report. Canopy lets you select data from any form you have data for. In our test report, we selected Employment, Personal Info, and Position.
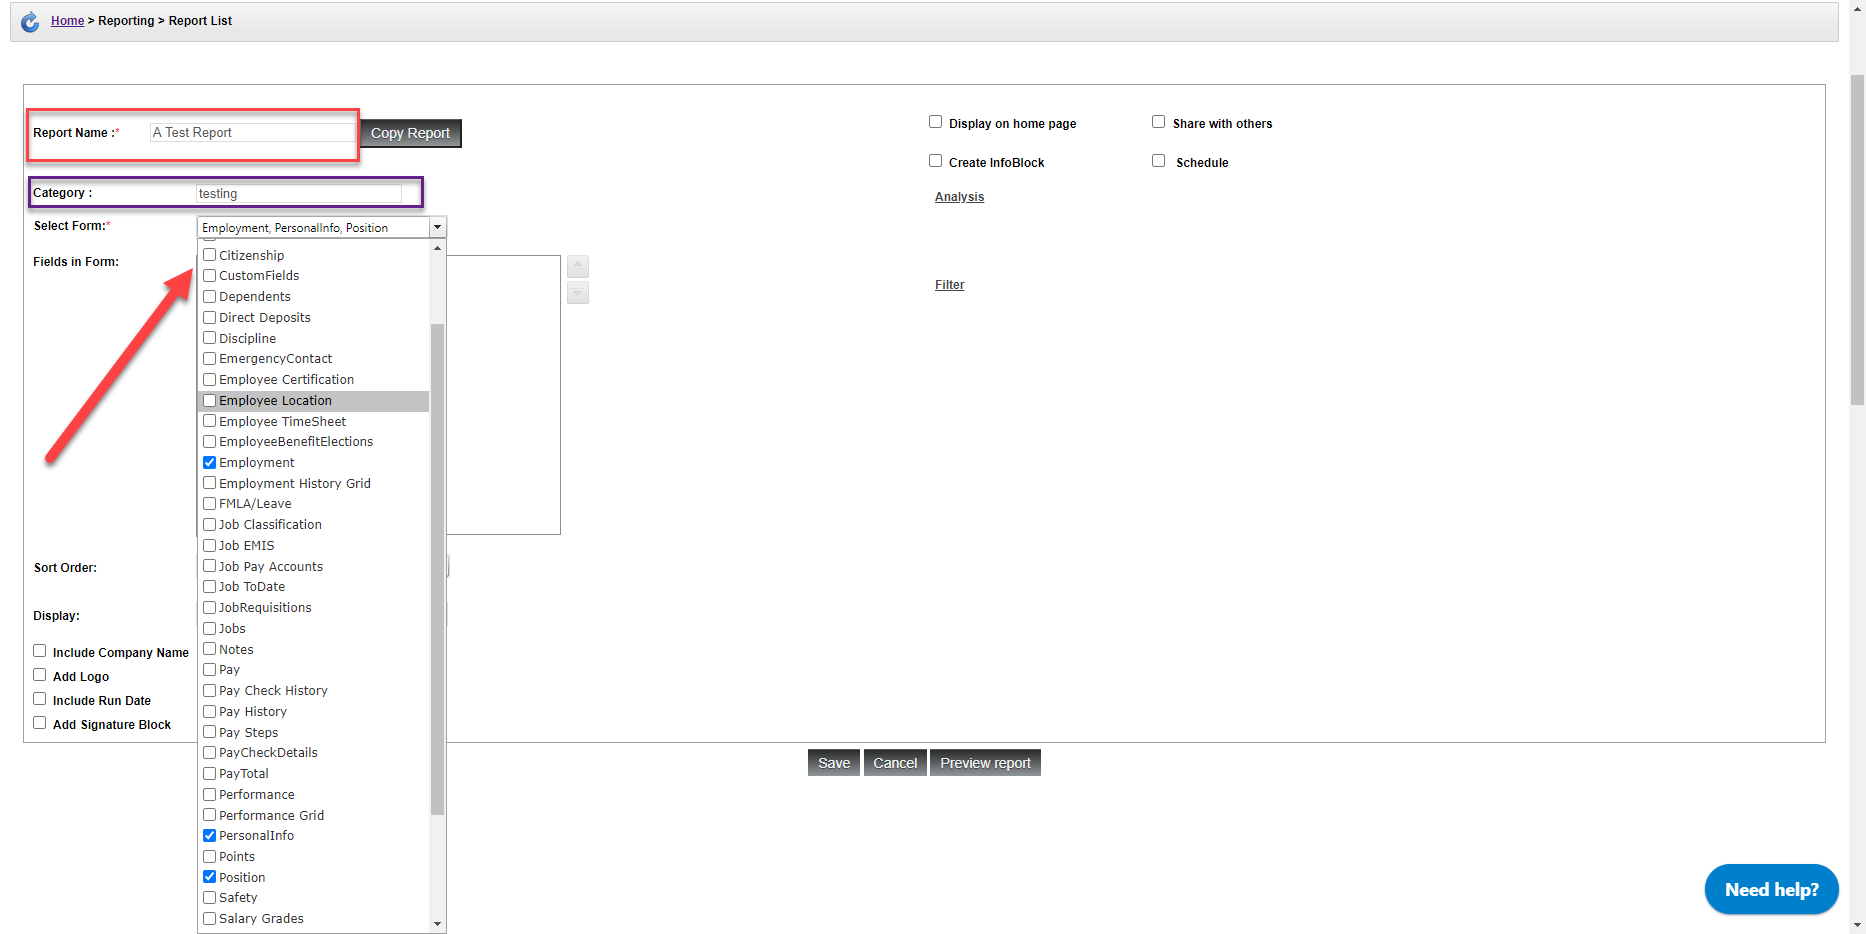
You can also give your report a category if you wish.
-
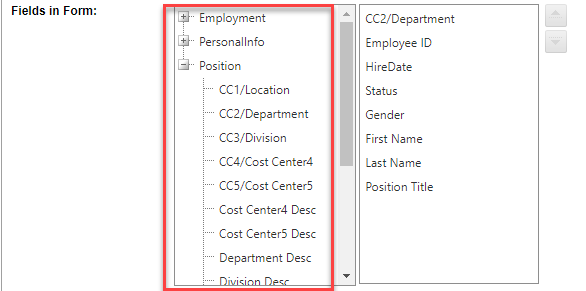
Choose which fields you want to pull data from within your forms. Each form will have a drop-down menu to choose from. Double-clicking on a field will move the field to the right side of the table, indicating that it will be used. You can see which fields we are using for our test report in the screenshot below.
-
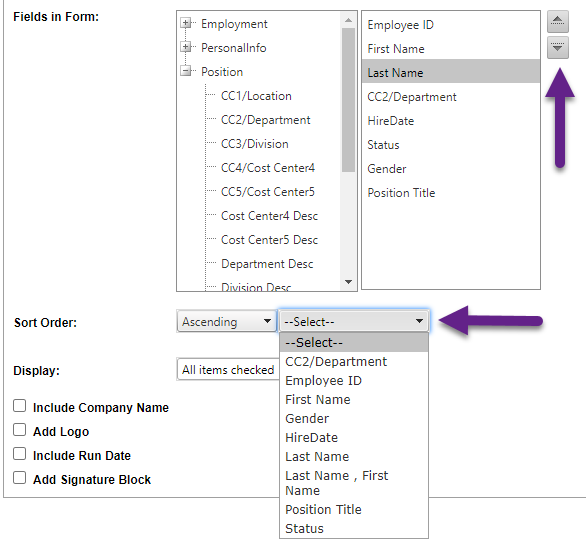
Optional Step: Sort your data! Each chosen field can be moved using the arrow buttons to place it at the beginning or end of the report. You can also choose to sort data in by a chosen field, in ascending or descending order.
-
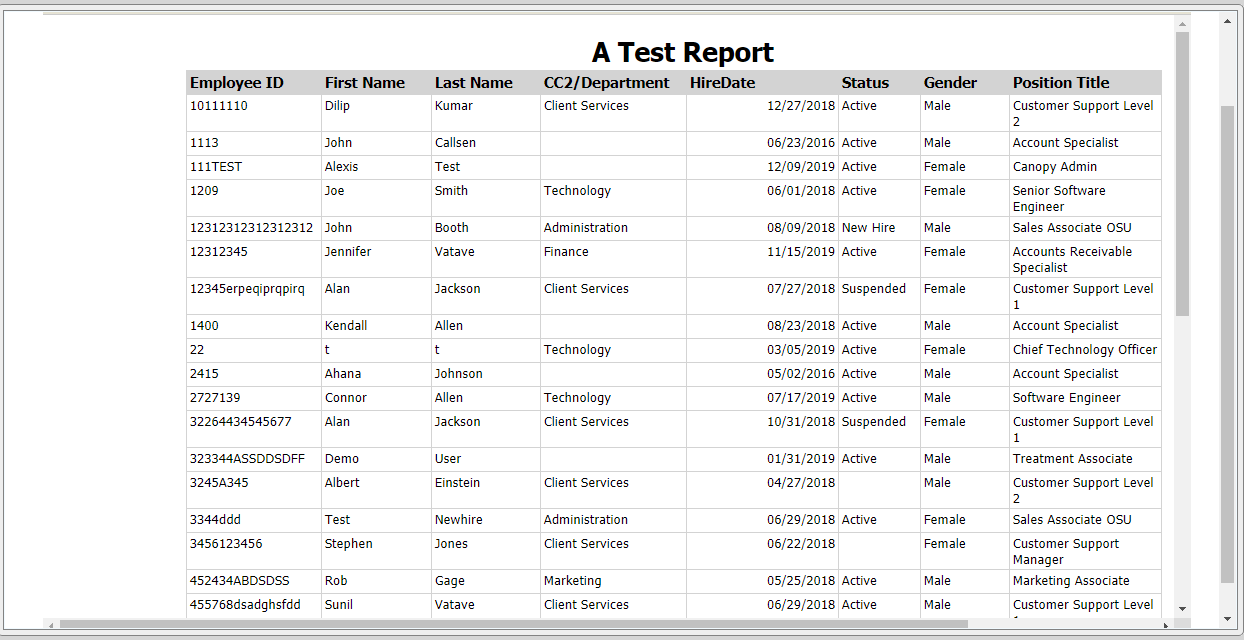
Choose to Save the report, or Preview the report before saving.

Here’s what it can look like!
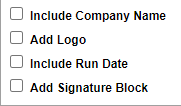
Other options for your report include adding a logo or signature block. We love the latter for time reports!