
Enhance your class tracking with extra documents and schedules.
Once you have created a class, you can create schedules for it, as well as attach any resources or documents necessary for the course. This is a great way to cut down on paper and keep a safe record of necessary materials. You can do this from the Manage Classes window, the same one where you added the class. In this example, we will use the project management class we created.
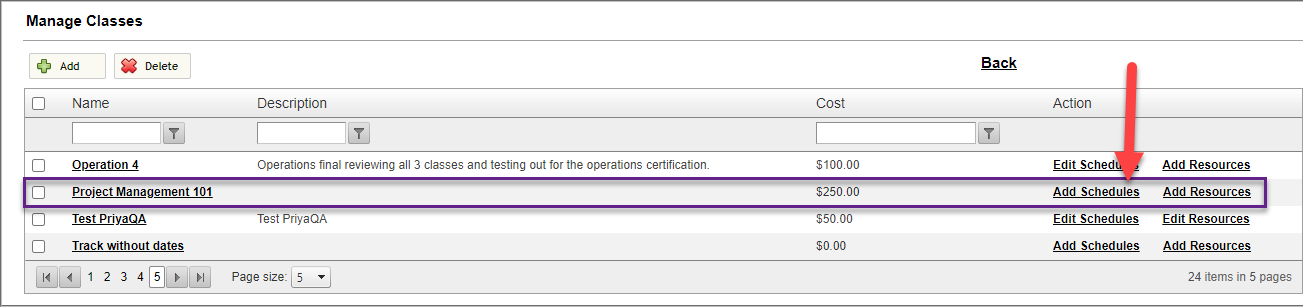
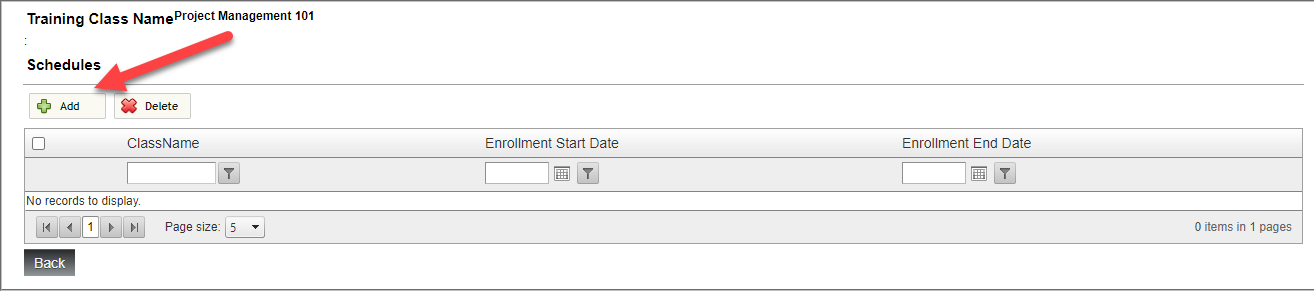
When Add Schedules is clicked, a table will appear that shows any schedules created. Since we do not have any for this class, let's click Add.
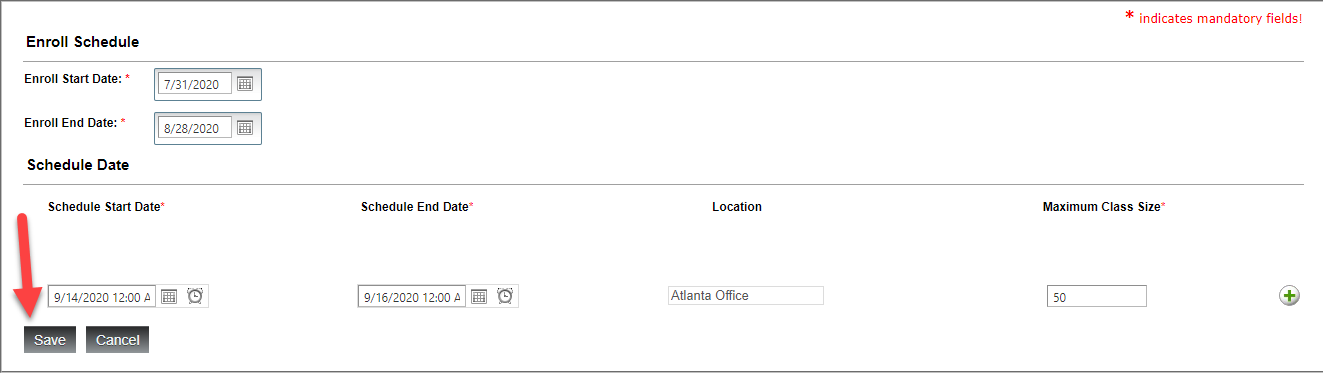
Here we can fill in the enroll dates and class dates. Optionally, we can indicate a class location and size. Once you have filled in this information, click Save.
Now that you have a schedule, you can go back to the table and click Add Resources.
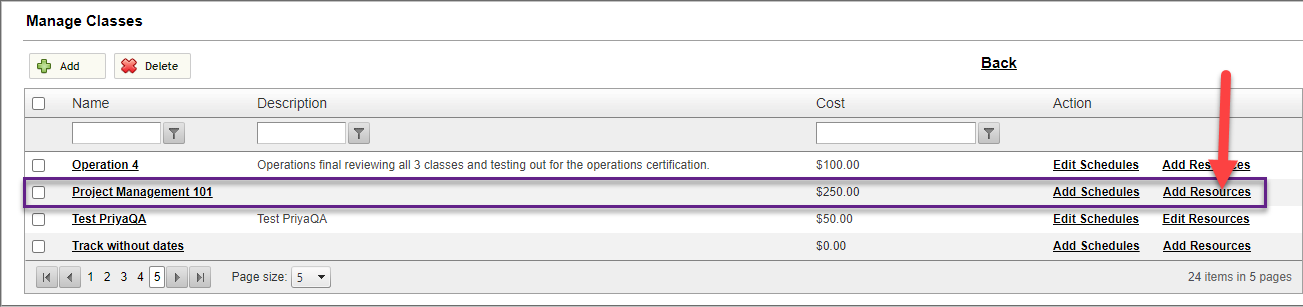
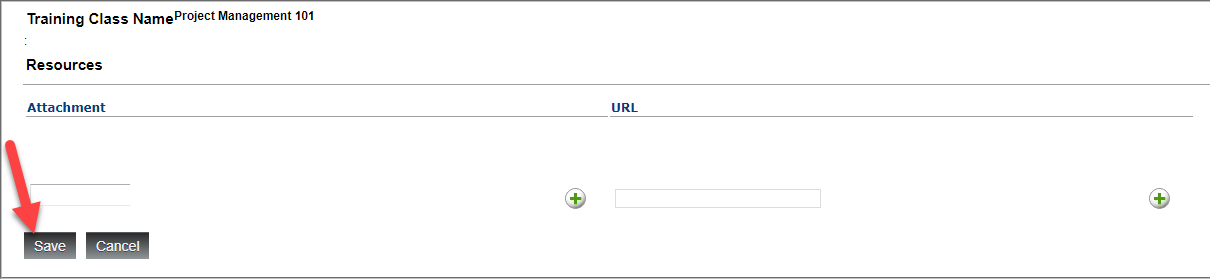
This lets you attach files or URLs that are necessary for the course, such as handbooks or other supplementary material. Once you have added these, click Save.
Now your training class is ready to go!